
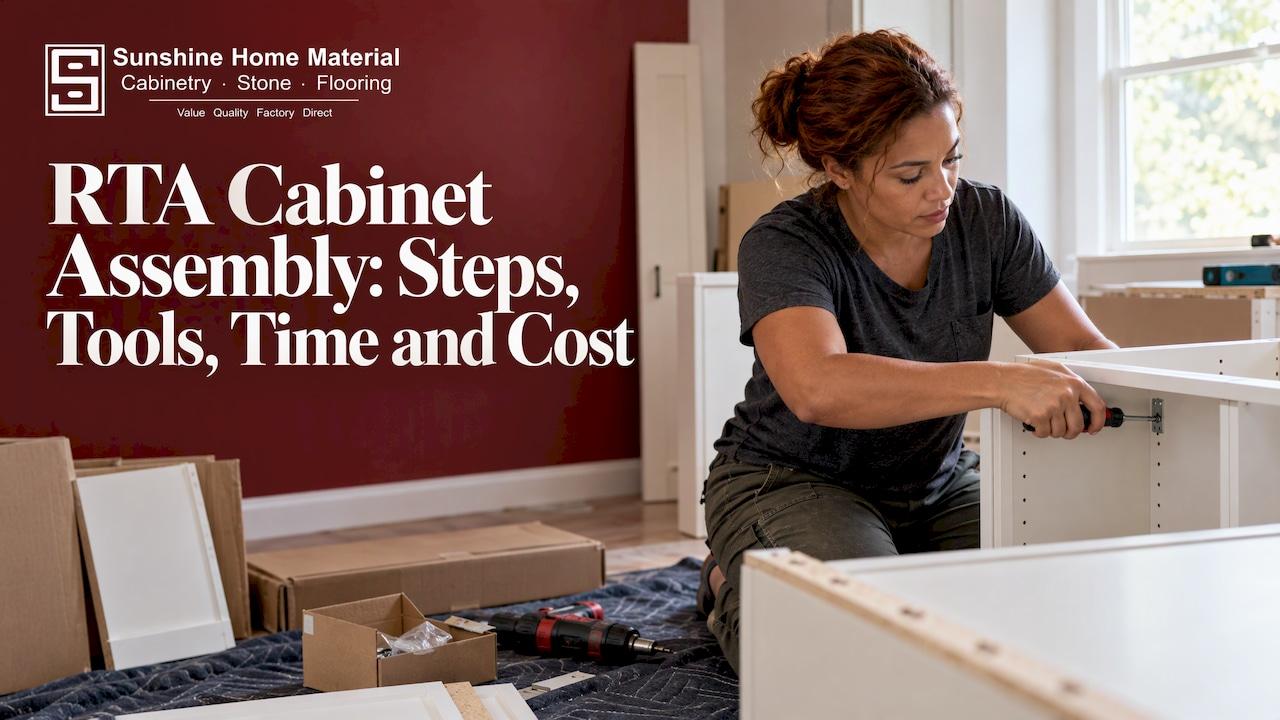
RTA cabinet assembly is a screwdriver job, not a carpentry job. Most boxes go together with screws and cam-lock hardware or angle brackets, and a first-timer can build a full kitchen over a few days. The real cost is time, careful sorting and following the maker's instructions exactly. If you would rather skip the building, we at Sunshine Home Material offer cabinet assembly and delivery in Orlando, so the cabinets arrive ready to hang.
Below you will find the full routine, the tools, how long it takes, what mistakes to avoid and what hired labor costs.
TL;DR
- RTA means ready-to-assemble: flat-packed cabinet parts that you build with basic hand tools.
- This Old House expects roughly 20 to 30 minutes per cabinet once you are organized, about 6 hours for a 10-by-10 kitchen with 12 cabinets.
- Use a screwdriver or hex key, not an impact driver, and do not add glue, brads or staples unless the instructions call for it.
- Inventory every box before you build anything, and build all the cabinets before you hang the first one.
- Prefer to skip the build? Sunshine Home Material offers assembly and delivery services in Orlando.
Table of Contents
- What RTA means and what comes in the box
- Are RTA cabinets hard to assemble?
- Tools and workspace you need
- How to assemble RTA cabinets, step by step
- Mistakes to avoid
- How long does RTA cabinet assembly take?
- What does RTA cabinet assembly cost?
- DIY, assembled by us, or assembled and installed
- Our perspective on RTA assembly
- Get RTA cabinets assembled and delivered in Orlando
- Before you order: a short checklist
- FAQ
- Sources
What RTA means and what comes in the box
RTA stands for ready-to-assemble. The cabinet ships as flat panels, a back, a bottom, side panels, a face frame or front rail, drawer parts, doors and hardware, and you build the box at home. Skipping factory assembly is why RTA cabinets are typically priced 30 to 50 percent lower than traditional cabinets: the shipping is more compact and the labor is yours.
Expect these components, though the exact list depends on the line you buy:
- Side panels, a bottom panel and a back panel for each box
- Top stretchers or rails on base cabinets
- Shelves and shelf pins
- Cam-lock fasteners, dowels, screws or angle brackets
- Drawer boxes, drawer slides and drawer fronts
- Doors and hinges
The parts for even one base cabinet often arrive in three or four separate boxes. That surprises many first-time buyers: a 12-cabinet kitchen can mean dozens of cartons in your garage.
If you are comparing options, our RTA kitchen cabinets in Orlando page shows the collections we stock.
Are RTA cabinets hard to assemble?
No. This Old House describes RTA assembly as straightforward, using screws and cam-lock hardware or angle brackets and basic tools like a screwdriver. If you have built flat-pack furniture, you have the skills.
What makes it feel hard is volume and precision:
- Volume. Twelve to twenty boxes means repeating the same steps many times. Fatigue is when people mount a panel backward.
- Squareness. A box that is out of square will not take a door that closes evenly.
- Reading the parts. Left and right panels, base and wall cabinet parts and sink base parts look alike until you compare the labels.
A small project, such as one vanity or a single wall cabinet, is an easy first build. A whole kitchen is where a bit of planning, or help, pays off.
Tools and workspace you need
The tool list is short. This Old House says RTA cabinets usually need only basic tools, typically a multibit screwdriver or hex-key wrench, and advises against an impact driver because it strips screws easily.
Tools
- Multibit screwdriver or the hex key your cabinets come with
- A non-marring rubber mallet. This Old House calls it a great tool for seating box parts without damage
- Tape measure and a carpenter's square
- Box cutter for opening cartons
- Pencil and painter's tape for labeling parts
- Cordless drill with a clutch, only if the instructions allow it, set to low torque
Workspace
- A clean, flat floor area large enough to lay a cabinet on its side, roughly 4 by 8 feet
- A moving blanket, cardboard or foam to protect finished panels
- Good light, because finished surfaces show scratches
- Somewhere dry to store unopened boxes. In Central Florida humidity, keep cartons off a bare garage slab and out of damp corners
Cardboard, foam and dust add up, and a finished kitchen needs a clean room before the countertops arrive. If you are planning the whole job, this overview of after-builders cleaning time helps you budget for the cleanup that follows.

How to assemble RTA cabinets, step by step
The process below applies to most brands. Your cabinet maker's instructions always take priority, so keep them open beside you.
Step 1: Plan before the boxes arrive
Label your layout on paper: every base, wall and tall cabinet with its width and a number. Count cartons against the packing list when the delivery arrives, and do it the same day so any missing or damaged part can be reported quickly.
This is where a good plan saves rework. We offer free 3D kitchen design and space planning, so the cabinet list you order matches the room before anything is built. An ordering mistake is far more expensive than an assembly mistake.
Step 2: Open, sort and take inventory
This Old House advises you to factor in time for opening and breaking down boxes and taking inventory when you estimate the job. Do it properly:
- Open one cabinet's boxes at a time.
- Lay out the parts and match them to the instruction sheet.
- Bag the hardware by cabinet.
- Mark each part with painter's tape, such as "B24 left side".
- Keep doors and drawer fronts in their packaging until the boxes are finished, so they stay unscratched.
Step 3: Build the box
Start with the bottom panel and one side, then add the second side, the top rails and the back. Follow the order in your instructions, because on many lines the back goes in last to lock the box square. Tighten fasteners snugly, not hard. Use the rubber mallet to seat dowels and panels gently.

Check squareness by measuring both diagonals. If they match, the box is square. If not, loosen slightly and adjust before the final tightening.
Step 4: Add drawers and shelves
Drawer boxes usually come as five parts, which are four sides and a bottom, plus slides. Attach the slides to the cabinet and drawer box exactly as shown. A small slide misalignment causes the drawer to bind or drift, so measure from the same reference edge on each side.

Insert shelf pins at the height you want. Adjustable shelves let you tailor the interior later.
Step 5: Fit hinges and doors
Most cabinet doors use concealed adjustable hinges. Mount hinges on the door, hang the door on the mounting plates, and adjust in three directions: in and out, side to side, and up and down. Do the fine adjustment after the cabinets are on the wall, since the box can shift slightly when it is fastened.
When you add handles, use a template or a drilling jig so every hole sits in the same place. Our collection of cabinet handles and remodeling hardware is in our showroom, and it is easier to choose when you can hold a sample.
Step 6: Stage, then install
Build all the cabinets before you hang the first one. Then stack and stage them by location. Installation itself is a separate job: leveling, fastening to studs and joining boxes. Our site also lists professional installation services, and we can refer you to independent installation professionals.
Mistakes to avoid
Most RTA problems are small and repeatable.
- Adding glue, brads or staples. This Old House advises against adding them unless the instructions call for it, because doing so can void the warranty. If the instructions do ask for glue at certain joints, use it only there.
- Using an impact driver. It strips screws and can split particleboard or plywood edges. Use the hex key or a low-torque drill.
- Overtightening cams. Cam locks should turn firmly and stop. Forcing them can crack the panel.
- Building on a bare floor. Finished faces scratch quickly, so use a blanket.
- Hanging doors before the cabinets are set. Doors get in the way during installation and are easy to chip. Hang them after, or remove them for install.
- Skipping the inventory. Discovering a missing panel mid-build can stall the whole kitchen.
- Mixing up similar parts. Label as you go.
How long does RTA cabinet assembly take?
This Old House puts it at about 20 to 30 minutes per cabinet, or around 6 hours for a 10-by-10 kitchen with 12 cabinets. That is a realistic pace for someone who has done a few. For a first build, plan on more per box at the start and less by the fifth.
Here is a practical way to plan the time:
| Project | Cabinets | Estimated assembly time at 20 to 30 min each |
|---|---|---|
| Single bathroom vanity wall | 1 to 3 | 20 minutes to 1.5 hours |
| Small galley kitchen | 6 to 8 | 2 to 4 hours |
| Standard 10-by-10 kitchen | 12 | About 6 hours |
| Large kitchen with pantry | 18 to 24 | 6 to 12 hours |
These are arithmetic from the per-cabinet estimate, plus sorting time on top. Add time for unboxing and inventory, and plan on spreading the job across a weekend or two. Where assembly sits in the larger schedule is covered in our kitchen renovation timeline.
What does RTA cabinet assembly cost?
Doing it yourself costs your time and a few tools you likely own. Hand tools, painter's tape and a moving blanket are minor expenses, and the cabinets themselves are the larger saving, since RTA lines are priced 30 to 50 percent lower than traditional ones.
Hired labor is where published numbers are mostly about installation, which includes assembly in some quotes. Use them as a ceiling for your planning:
- Fixr's 2026 cost guide gives a national average of $7,000 to install kitchen cabinets, with most homeowners paying between $4,000 and $14,000, and labor rates averaging $40 to $100 per hour.
- Homewyse's May 2026 estimate starts at $486 to $736 per cabinet for installation.
- This Old House notes professional installation starts at about $2,500 for a basic 10-by-10 kitchen.
Those figures cover national averages and include mounting, leveling and finishing, not only building boxes. Assembly and delivery from us is a service with no published price, so ask for a quote against your cabinet list. A written project estimate lets you compare the cost of paying for assembly against your own weekend.
DIY, assembled by us, or assembled and installed
There are three sensible ways to get RTA cabinets into your kitchen. Here is how they compare for a typical Orlando project.
| Build it yourself | Assembly and delivery through us | Assembly plus professional installation | |
|---|---|---|---|
| Your time | Highest | Low | Lowest |
| Cabinet cost | RTA price | RTA price plus a quoted service | RTA price plus quoted services |
| Cartons to handle | Many | Cabinets arrive built | Cabinets built and installed |
| Best for | Small jobs, hands-on owners | Whole kitchens, tight schedules | Contractors and owners who want one plan |
If you are a contractor or investor working across several units, having us assemble and deliver can keep your crew on installation. If you are a homeowner with a weekend and patience, the build is manageable, and we can help you order it right the first time.
Our perspective on RTA assembly
Most of the trouble we hear about with RTA cabinets starts before assembly: wrong sizes ordered, a missing filler or a plan nobody drew. That is why we start with design. Our 3D kitchen and bath design service lets you see the layout and the exact cabinet list before you buy.
Once the right cabinets are in the right order, assembly is a choice, not a burden. Some of our customers enjoy building their own boxes. Others, especially busy homeowners, builders and property managers, would rather receive them assembled. We offer cabinet assembly and delivery, plus warehouse pickup, delivery and shipping options, so you pick the version that fits your schedule.
We are a family-owned supplier based in Orlando, with a showroom where you can open a drawer, check a finish and talk through the project. Factory-direct pricing on RTA cabinets is how we help you keep the budget under control, and our services are designed to keep the work moving once the order is placed.
Sunshine Home Material
Get RTA cabinets assembled and delivered in Orlando
If building a dozen boxes is not how you want to spend your weekends, we can help. Sunshine Home Material offers assembly and delivery services, free 3D kitchen design, and in-stock RTA cabinets with delivery in 24 to 48 hours for in-stock materials. You can also pick up at our warehouse, and financing options are available for qualified buyers.

Browse the in-stock RTA cabinet collections, or start from our home page to request a project estimate for your kitchen.
Before you order: a short checklist
- Measure the room twice and draw every wall, window and appliance.
- Choose the style first. Our guide to choosing kitchen cabinets walks through layout and function.
- Decide who is assembling, you or us, before ordering, so the delivery is planned around it.
- Confirm the delivery date and where cartons will be stored.
- Plan countertops, since measurements for stone depend on installed cabinets. Our stone countertops are available as slabs, and we offer fabrication services.
- If you are comparing against big-box flat-pack kitchens, read our alternatives to IKEA kitchen cabinets.
FAQ
What does RTA mean for cabinets?
RTA means ready-to-assemble. The cabinets ship flat in cartons as panels, hardware, doors and drawer parts, and you or a service put the boxes together. The format keeps shipping compact, which is part of why the price is lower.
Are RTA cabinets hard to assemble?
Not for most people. They are built with screws and cam-lock hardware or angle brackets using basic tools. The hard parts are the number of boxes, keeping parts organized and getting each box square. A single vanity is an easy first project, while a full kitchen is a long weekend.
How much does it cost to assemble RTA cabinets?
Building them yourself costs mostly your time. For hired help, published figures are for installation and vary widely: Fixr reports most homeowners paying between $4,000 and $14,000 nationally for cabinet installation. Our assembly and delivery service has no published price, so request a quote based on your cabinet list.
Can I use a drill or impact driver?
Use a hand screwdriver or hex key whenever you can. A drill on a low-torque setting is fine if the instructions allow it, but an impact driver strips screws easily and should be avoided.
Should I glue my RTA cabinets?
Only where your instructions say so. Adding glue, brads or staples when they are not called for can void the manufacturer's warranty, so follow the sheet that came with your cabinets.
Sources
- All About Ready-to-Assemble Cabinets, This Old House
- How To Assemble RTA Cabinets, This Old House
- 2026 Kitchen Cabinet Installation Cost, Fixr
- Cost to Install Kitchen Cabinets, Homewyse